This chapter describes how to configure your MiktroTik gateway.
If you are using a MikroTik that is already running in a production network, we suggest that you make a backup of your current configuration. Go to Files > Backup, then click to back up your current configs to the file. Optionally drag and drop the new backup file to your desktop to save it locally.
%DEVICE% is already supplied with a pre-configured gateway, ready to work. If you prefer to add another gateway, please proceed as described in the Adding a New Gateway.
Your MikroTik router must have version 6.46.7 or greater. In case you have hardware with an older version, you need to upgrade it.
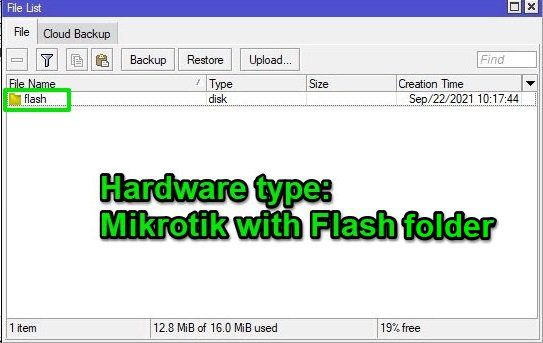
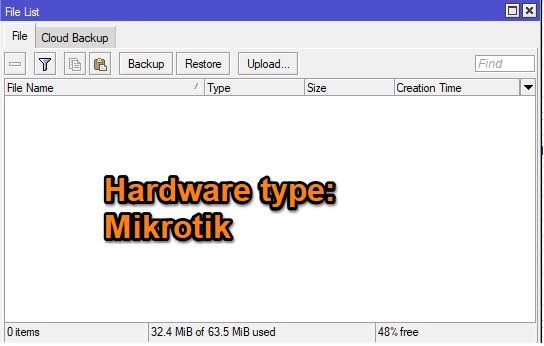
Check if your MikroTik has the Flash folder. Log in with Winbox, select Files.
The File List appears, and please check whether it contains a folder named Flash.
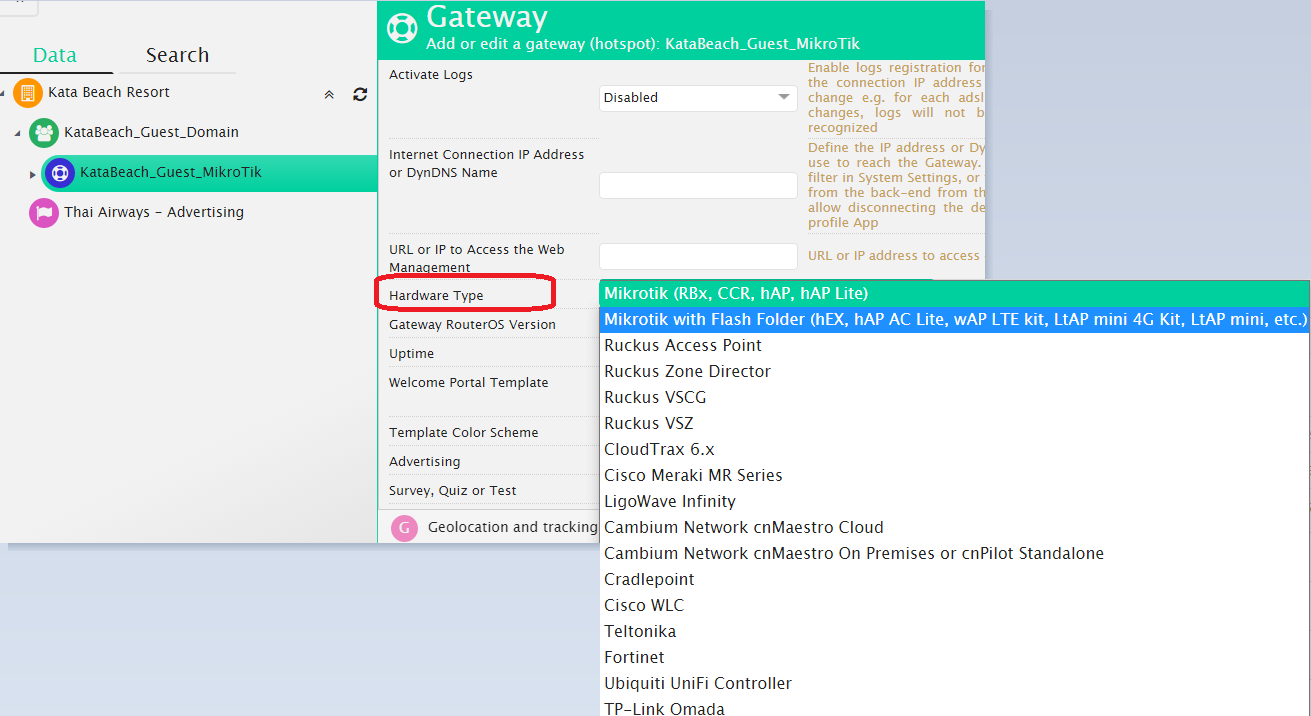
Now inside %DEVICE%, select your Gateway, click the dropdown menu, choose Edit.
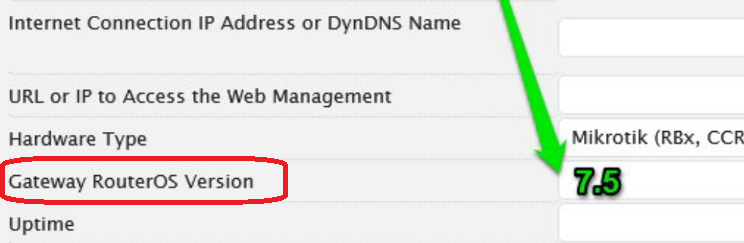
Expand the General Data section and in the Hardware Type field, choose whether MikroTik or MiktroTik with flash (hEX, hAP AC Lite, etc…).
In the Gateway RouterOS Version field, you need to enter the version of your MikroTik router.
If you have a version equal to or greater than 7 and you don’t declare the version, you may face issues when downloading your configuration file.
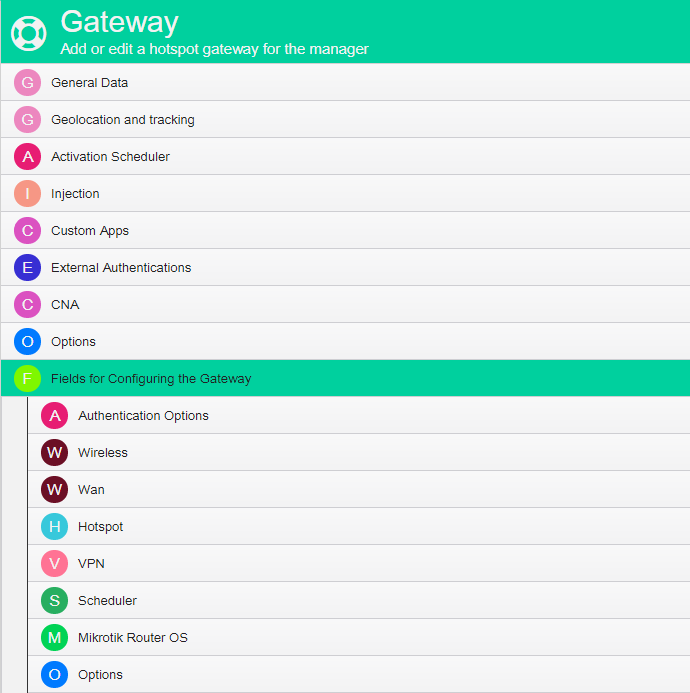
Scroll down till Fields for Configuring the Gateway. This section appears only if you have selected the MikroTik-type gateway in the Hardware Type field.